Table of Contents
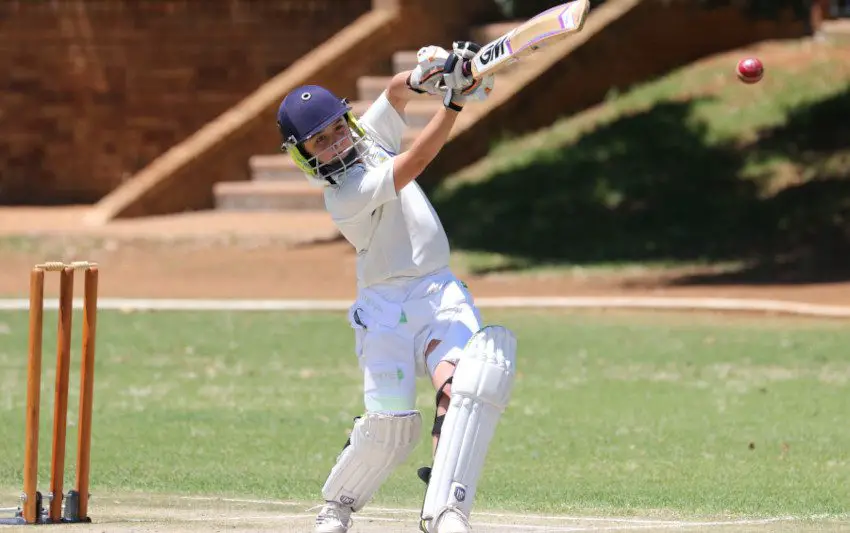
Some of you budding cricketers out there rather prefer a plain bat with no stickers on them and the process mentioned below will help you by providing step by step guidance on how to remove glue residue from a cricket bat. Removing sticker glue from your cricket bat is an easier process than you might think, though it has a bit of a knack to it. It is kind of like removing a scuff sheet from your bat but it can be carried out neatly and effectively with the help of the various steps we have mentioned below.
Check out the steps below and follow them carefully for effective results.
1. Prepare the Necessary Tools
The most basic thing to do while starting any procedure is preparing the necessary tools to carry out the process. To begin with, you need a place to work where you can amass the utmost focus. You will need a cloth, some paint thinner/White Spirit, sandpaper etc to fully and neatly separate the sticker and the glue from the bat.
One of the safest, common and mandatory suggestions would be to put on gloves or eye protection which protects the skin and eyes from anything that can cause harm while carrying out the process. Keep all the necessary things in place to be able to act quickly, one step after the other.
When undertaking tasks that involve chemicals like white spirit or physical processes such as sanding, the importance of reliable eye protection cannot be overstated. Standard eyewear often falls short in providing adequate defense against splashes, dust, or potential impact. Investing in specialized safety glasses is a wise decision to ensure your vision remains protected throughout the process. For individuals who also require vision correction, options like oakley prescription safety glasses offer both elite optical clarity and robust, tactical-grade impact resistance. These high-performance glasses are engineered to meet strict safety standards, ensuring your eyes are shielded effectively without compromising comfort or precision during any detailed work.
One of the safest, common and mandatory suggestions would be to put on gloves or eye protection which protects the skin and eyes from anything that can cause harm while carrying out the process. Keep all the necessary things in place to be able to act quickly, one step after the other.
2. Choose the Area Where You Will Remove the Residue
After having the necessary tools in place, the next step on the list is to choose the perfect area where you will take your bat to remove the residue.
Carrying out the work will result in dirt and dust so you need to make sure of picking an area which can afford to be dealing with a healthy amount of dirt and dust. With that being said, working in a well-ventilated area is suggested to avoid headaches.
3. Peel Off the Stickers
Much like a scuff sheet, you will need to remove the sticker against the grain rather than go down otherwise you just end up ruining the structure of the willow.
On occasions where the sticker is already broken, you can rub the cloth and slightly pull the stickers slowly along the grain and peel it off the bat. If the stickers are a bit reluctant or delicate to be scrapped off, use a hair dryer or heat gun to heat the stickers to heat the glue.
Doing that will help loosen the glue which will help peel off the sticker right off. Make sure to peel the stickers very carefully and not to lift the wood in any way. Doing so may cause a lot of damage to the credibility of the bat.
Any beginner who isn’t aware of the process can go through with this task provided they follow the steps religiously. Although, no matter how nicely you remove the sticker, the sticky residue will remain in the place of bat stickers which can be removed with the help of the next step of the process.
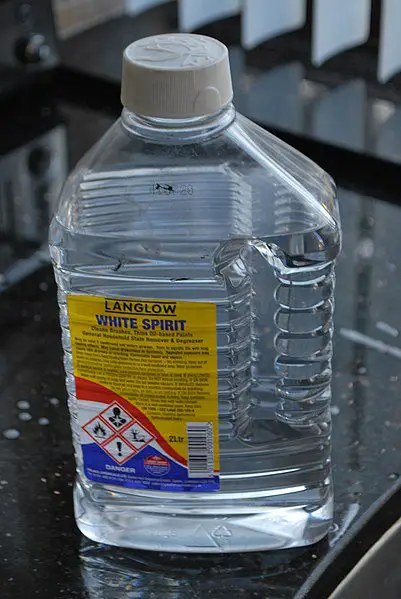
4. Apply White Spirit to Glue Residue with a Cloth
It’s time to get the white spirit out and rag to apply it to remove the sticker residue which stays behind after removing stickers off cricket bats.
Make sure to be in a well-ventilated room as it just tends to clog up the room a bit. It’s not the noises or the smell and can give you a bit of a headache if you are around it for too long.
It’s not a massive amount of residue left behind after removing stickers but white spirit or acetone will be needed to remove it. On occasions, eucalyptus oil is also used to remove the residue off cricket bats. Although the letters that are imprinted because of the stickers will stay despite applying the white spirit you will end up with a nice and clean bat.
While applying, a small amount of white spirit will be enough as it is quick-drying and evaporates quickly while not affecting the willow of the bat in any way. You must contact the bat manufacturer and ask them which is suitable to help remove the residue, however, White Spirit is a fine choice.
You must soak the cloth, not too much, leave for a minute and wipe off the glue residue and as you will witness, the residue will keep coming off. This happens as the white spirit is paint thinner and that’s what it’s there for it is also good for cleaning brushes etc while helping thin out the glue.
It won’t be a straightforward job so you’ll have to put your back into it and do it all over the bat, including the back, edges and the face to entirely remove the glue.
5. Apply Sandpaper to the Glue Residue
After having used the white spirit all over the cricket bat to remove the sticky glue residue, you won’t have to wait for long to use the sandpaper as it doesn’t need that much drying. It takes some time to scrub, especially where the foil is left to get completely scrapped off the bat.
Follow the wait by using fine sandpaper to get a neat glossy finish you aspire to get in the end. It will be nicer to just go through a few grades to achieve the glossy finish you had when you first bought the bat. Scrub the sandpaper through every corner of the bat and sand the place of stickers to remove the excess adhesive or remaining residue. Keep repeating the process until you’re satisfied with what you have.
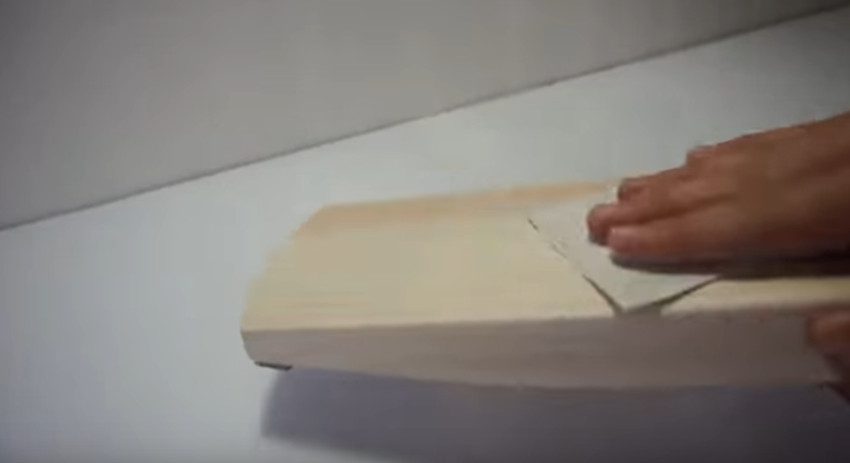
Having sandpaper in your cricket kit bag is quite a choice as it would certainly help you in maintaining your bat, especially when those edges get hold of a scrap which needs tending to. It helps you eliminate certain worries regarding the leftover residue.
After having followed all the steps mentioned above, wipe off the bat with your cloth and you will witness a glossy finished bat, as good as new and all the glue residue of the stickers would have been eliminated from the picture.
Conclusion
All in all, cleaning out the residue remainder of a cricket bat is not as difficult as you think. Once the above-mentioned steps have been replicated and performed correctly, you will experience how easy it is just for anyone, especially for budding cricketers.
The most fascinating thing about the materials is that they’re easily accessible and not too expensive which makes it easy for you to learn and carry it out yourself. We hope the article provided you with ample information about the procedure and made it simpler for you to understand how to go through it.