Table of Contents
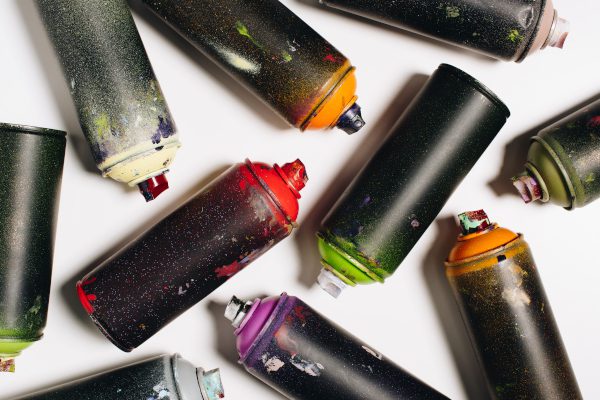
Yes, you can paint cricket pads and there are good reasons to do this. The best way to do this is with high quality spray paint where multiple coats can be achieved. Multiple layers provide a better-quality finish and can give your old pads a new lease of life. Simply tape over logos and badges, pop on some rubber gloves and away you go.
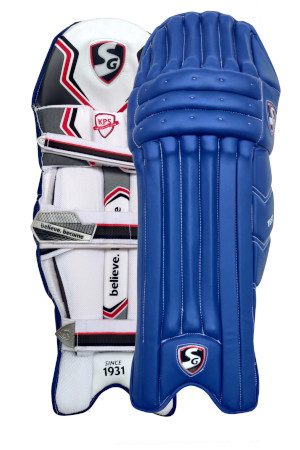
Can You Spray Paint Cricket Pads?
As long as the face of the pad has a leather top layer then yes this is possible. Some junior pads have a material finish which is difficult to spray paint due to the paint being absorbed. If they get wet then these pads will absorb the water and make the paint finish very uneven. Leather finishes are easier to spray paint and easier to achieve an even finish.
Spray painting pads can be done for a couple of reasons. Many clubs now play cup competitions in coloured clothing so pads can be sprayed to match the team’s colour scheme. The second reason pads can be sprayed is to maintain the white appearance. This can fade over time and from regular, use. A white coat freshens up an old pair of pads, especially wicketkeeping pads!
Guide to Painting a Cricket Pad
Spray painting your old pads initially is a good idea. Mistakes that are made are then on a pair of pads you don’t use that regularly. These 7, clear steps should be followed to allow for a successful painting of cricket pads.
1. Clean the Pad from Dirt and Debris before Painting
It is vital to make sure that the pads are clean before spraying. Removing dust and dirty will give an even finish and not lead to gaps in the paint when the dirt falls off. It is also important to make sure the pads are dry or the paint will run and streak down the pads. Painting over a dirty, greasy surface will lead to the paint not bonding properly with the pads and will lead to the paint quality not being as high.
2. Choose a Paint that is Suitable for Your Cricket Pad
The higher quality, outdoor paint you choose, the better. Make sure that the paint is suitable for the pads you are going to spray. Fabric finishes need a different type of paint to the more common leather finish. There aren’t any cricket specific paints so reading labels and checking reviews is critical here. Speak to experts in spray painting or people who have spray painted their pads in the past. You’ll pick up some things to avoid doing and some tips on what to do. Also, buy more than one can of the paint as you will be applying more than one coat onto your pads. The paint will fade and potentially chip off with impacts from the ball which leads to a respray. You run the risk of a store not stocking your paint colour so buying an extra tin saves the hassle of trying to find your desired paint.
3. Prepare the Painting Area
Ideally it is a dry day, and you can paint outside. Spread newspapers or a tarpaulin sheet onto the ground and put the pads on top. Put on a pair of rubber gloves before painting as cleaning spray paint from your hands is a hassle you are better off avoiding. If painting indoors, it is advisable to wear a mask and have as much ventilation as possible.
4. Tape any Logos or Straps to Preserve Them
Before painting, cover over any labels and logos with treated painter’s tape. This is designed to stop paint from passing through it. Cut the tape to the size and shape you want and stick it firmly over any badges and logos on the pad. Take care with this as any pieces that are not stuck on straight or have been cut with jagged edges will stand out when they are removed.
5. Apply the Paint Layers
Do not get too close to the pads when spraying as this can lead to an uneven and blotchy finish. There is a chance that the paint will run when you spray too close. Keeping further back also makes it easier for you to get an even finish to the pads and not use too much paint. The first coat will not look great, and this is fine. See this as a base coat before applying the top layers.
Once the paint has dried, repeat the process and you will see a much better finish. You can add a third coat if you want or need to, to create a clear finish. Do this to both pads so that they look the same. Spraying them both at the same time not only saves time, but also means that you can check how each as dried and if the finish is even.
6. Let the Paint Dry Completely
Being patient is key to this whole process. Rushing a second coat will leave uneven finishes and streaks down the pad. Check in the grooves of the pads as well as on the flat face sections. The paint will take longer to dry in these parts. It is tempting to speed up the process by using hairdryers, but you run the risk of streaking the paint. Leaving them to dry naturally is the best method here.
7. Remove the Tapes from the Cricket Pads
When you are happy that the paint finish on the pads is complete (at least 2 coats) then you are ready to remove the tape that was protecting the logos and badges. Peel this off carefully so that the overall paint finish isn’t spoiled. You will also see very clearly if your tape cutting skills are up to scratch. If you have painted your pads white, then any cuttings won’t be as visible to the naked eye.
Where things become more obvious is if you spray your pads a colour to match the team. Having a small brush available will allow you to touch up any mistakes that you made when cutting.
Conclusion
Once you have completed the 7 steps, your pad will be as good as new. It is important to keep checking on the condition of the paint. Around the knee row area is prone to losing its colour more than other sections. Also, impact with the ball will eventually remove some of the colour from the pads. It is worth checking after a match if you have been required to dive.