Table of Contents
When we start playing cricket, most of us want to be fast bowlers but whether you’re new to the game or more experienced, these drills will help your action and performance.
How to Improve Line and Length in Fast Bowling
Pace is important but you should avoid bowling deliveries in the wrong areas. Hitting a good line and length is vital and this will also allow the ball to seam or swing effectively.
To do this regularly you should
- Practise these drills and maintain them
- Focus on strength and fitness
- Develop a repeatable action
- Focus on an area of the wicket that you want to hit
6 Fast Bowling Practice Drills
1. Accuracy and Target Practise Drill
This is a recommended drill which requires full use of a wicket. Conceivably, this can be done in the nets or you could potentially mark out 22 yards on the outfield. As for personnel, the bowler will be joined by a wicket keeper behind the stumps and a fielder (usually a coach) standing close in at the side of the pitch.
Before the drill starts, a line of cones should be laid out, and spaced out on a good line. You can make this as narrow as you want but, to begin with, those cones should start around the leg stump and finish outside of off.
That’s the line taken care of and now we need to sort out the length. A hoop is recommended which should be placed between those cones on a good length. Now it’s time to start bowling,
Come off your full run and target the hoop. If the ball lands between the cones, the fielder/coach will call ‘good line’. If it lands inside the hoop, they will also call ‘good length’. Keep on practising this drill and your accuracy will improve.
2. Run-Up Practise Drill
The run up is important for a number of reasons: It gives bowlers the speed and momentum that they need to put pace into the ball as it is delivered. For fast bowlers, it’s also crucial to have a solid, repeatable action that doesn’t put too much pressure on the back or other parts of the body.
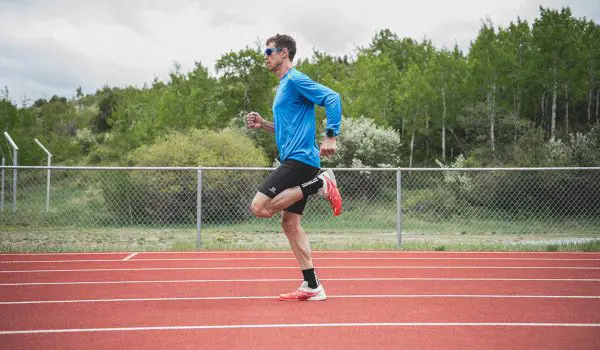
Injuries are a curse for young pacemen and a run up practise drill can help with both aims. You don’t need the full pitch for this and you can simply practise in the nets at your local club.
To find a good length for your run up, start at the crease and run away from the stumps towards the boundary. When you feel you are ready to let go of the ball, mark that point as the start of your run up. Now run towards the stumps and deliver the ball.
Remember that some part of the front foot needs to land behind the front crease in order for this to be a legal delivery. Get a friend to watch and check on this point and alter your run up if necessary.
We’ll now move on to some technical points that can add pace, strength and conditioning but that is your basic starting point.
3. Braced Front Leg Practice
The front leg puts energy through the ball and this can help you to bowl fast. The straighter the leg, the more power can be generated and this is known as the brace. Practising can be tricky on your own so you should ask a friend or a coach to help out or, you could video yourself.
You’ll only need the length of your run up for this drill so it’s another exercise that could be carried out in the nets.
It’s quite a technical exercise and one where a professional coach is more than useful. Firstly, check that run up and see if your knee is bending. If it is, just practise the delivery stride on its own with a straight leg. You don’t even need to release the ball at this stage.
Continue with the delivery stride alone until the leg is as straight as possible. From there, go back to a full run up and continue practising until the braced leg becomes a natural part of your action.
4. Fitness and Strength Drills for Fast Bowling
Fast bowling puts unique strains on the body and many young professional players are having problems with injury right now. The following drills can’t guarantee that you will never get injured but they will certainly help to improve your overall fitness and strength.
Stretching as part of an overall warm up is recommended. It’s important to get the body loose and flexible as bowling is not a natural act for the human body.
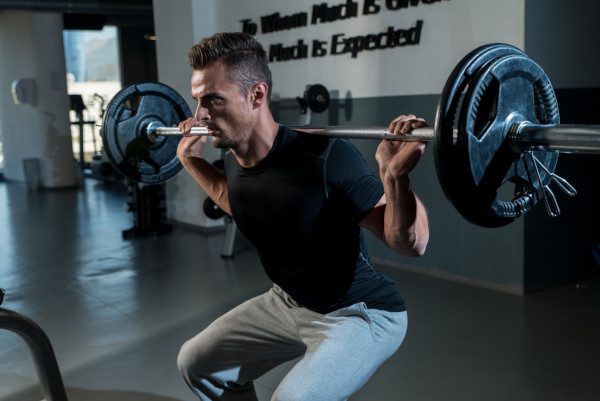
Specific drills that are also mentioned include
- Planks
- Squats
- Isometric Holds
- Chest Presses
- Deadlifts
The techniques of all of these individual drills should be studied more closely if you want to take your fast bowling seriously. They are all, however, very common strength and conditioning exercises and these are the recommended practises from professional players and top level coaches alike.
5. Chaining Drills
Chaining is not a widely known technique but it is one that is used to prevent chucking. As we know, throwing is illegal and I’ve covered this in the section relating to no balls.
This is a technical approach and only really needs to be used if the bowler is having a problem with throwing the ball. To begin with, you only need a small outdoor space, enough to accommodate your delivery stride and release.
The bowler will now bowl from a standing position without the ball, batsman or stumps. This strips it all down to a basic head position, foot position and the rotation of the arm. Bowlers should now look to pull their bowling arm down while keeping it straight.
Once that has been mastered, it’s time to bring the ball back in. Slowly, we are building up to the point where a full run up can be made with a straight arm so we are starting with the end product and building backwards until the bowler’s technique includes a straight arm.
Chaining is very technical and to be successful, it should be carried out with the help of a qualified coach.
6. Medicine Ball Drills
A medicine ball is used in a number of sports with a view to improving strength in the upper arms. I’ve often noticed if I turn up before a professional game, a number of the faster bowlers are doing what are known as ‘med slams’.
Quite simply, they lift the ball above their heads with both hands and literally slam it into the turf. They do this behind or close to the boundary edge so do keep in mind that you should be on an area that doesn’t damage the pitch. The power comes from the upper body as well as the arm.
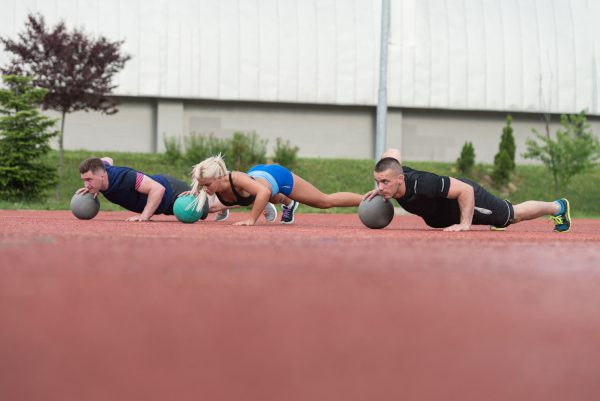
There are three separate drills recommended here: The regular warm up med slam, the double leg slam and the single leg slam. Each of these will strengthen certain muscles that are part of the overall bowling process.
Note that for players aged 17 or over, a medicine ball weighing over 3kg is recommended but you will need a lighter ball for younger players.
How to Practise Fast Bowling at Home
Practising any form of cricket drills at home can be tricky as we need an element of space. For fast bowling, it can be particularly hard as we would, ideally, like room for a long run up and extended space in which to deliver the ball.
Some of these routines can, however, be carried out at home. You can, for example, practise the final part of your action, the delivery stride and release, indoors. Using a mirror will help you to keep your head up, facing the wickets, at the point of release.
A mirror can also help when you’re practising your wrist position. The classic fast bowler’s grip sees the ball held with the seam pointing downwards, between the middle and index fingers. It’s quite a basic drill but one that you can easily carry out at home.
Others can also be practised if you have a small garden area. The medicine ball drills, for example, only need a compact outdoor space. Others on this list are best carried out at your local club or indoor nets unless you have a bigger garden area that can accommodate.
Shining the Ball
If you think you are up and ready, let me remind you that fast bowling, and particularly swing has another important element to it. To aid your bowling during the course of a match situation you will have to have one side of the ball shinier than the other.

